
This last Saturday I had Seb and Andy over for a day full of Dystopian Wars gaming. Andy’s a pretty accomplished gamer – we calculated that he’s played approximately 50 games of DW since its release – and Seb and I were counting on him to take us through the changes in the 2.0 rules system. To that end, we did a quick 2 turns of FSA vs Royal Australians – both Andy’s fleets, which he has not used in a while or at all – and got to see a good number of the major 2.0 changes (e.g., how linking works now with the “rounding up” set-up). Andy’s Australians in particular looked great on my ocean gaming table. 
We stopped after two turns because I had created a scenario that I really wanted to gamesmaster for the other two. I rearranged the terrain and then gave each commander their secret mission briefing:


These briefings also included suggested fleet lists I had made using my Russian Coalition forces and Andy’s Prussian navy. They were, however, allowed to create new lists up to 800 points in value. The Grand Coalition and Imperial Bond sides had differing objectives, as underlined in the briefing letters above. However, unbeknownst to either player, there was a third briefing letter…
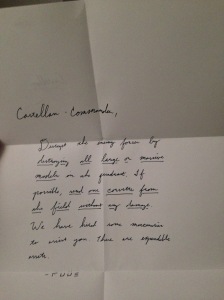
This letter, addressed to the leader of a combined Covenant-Mercenary naval force, was originally for a third player who couldn’t make the event. Instead, the gamesmaster would take over the third faction. The scenario called for their 400 points of Covenant and Jack-O-Lantern Company forces to come in from the side board edge of on Turn 3. This aspect of the scenario was kept in secret until the time of their entrance arrived…
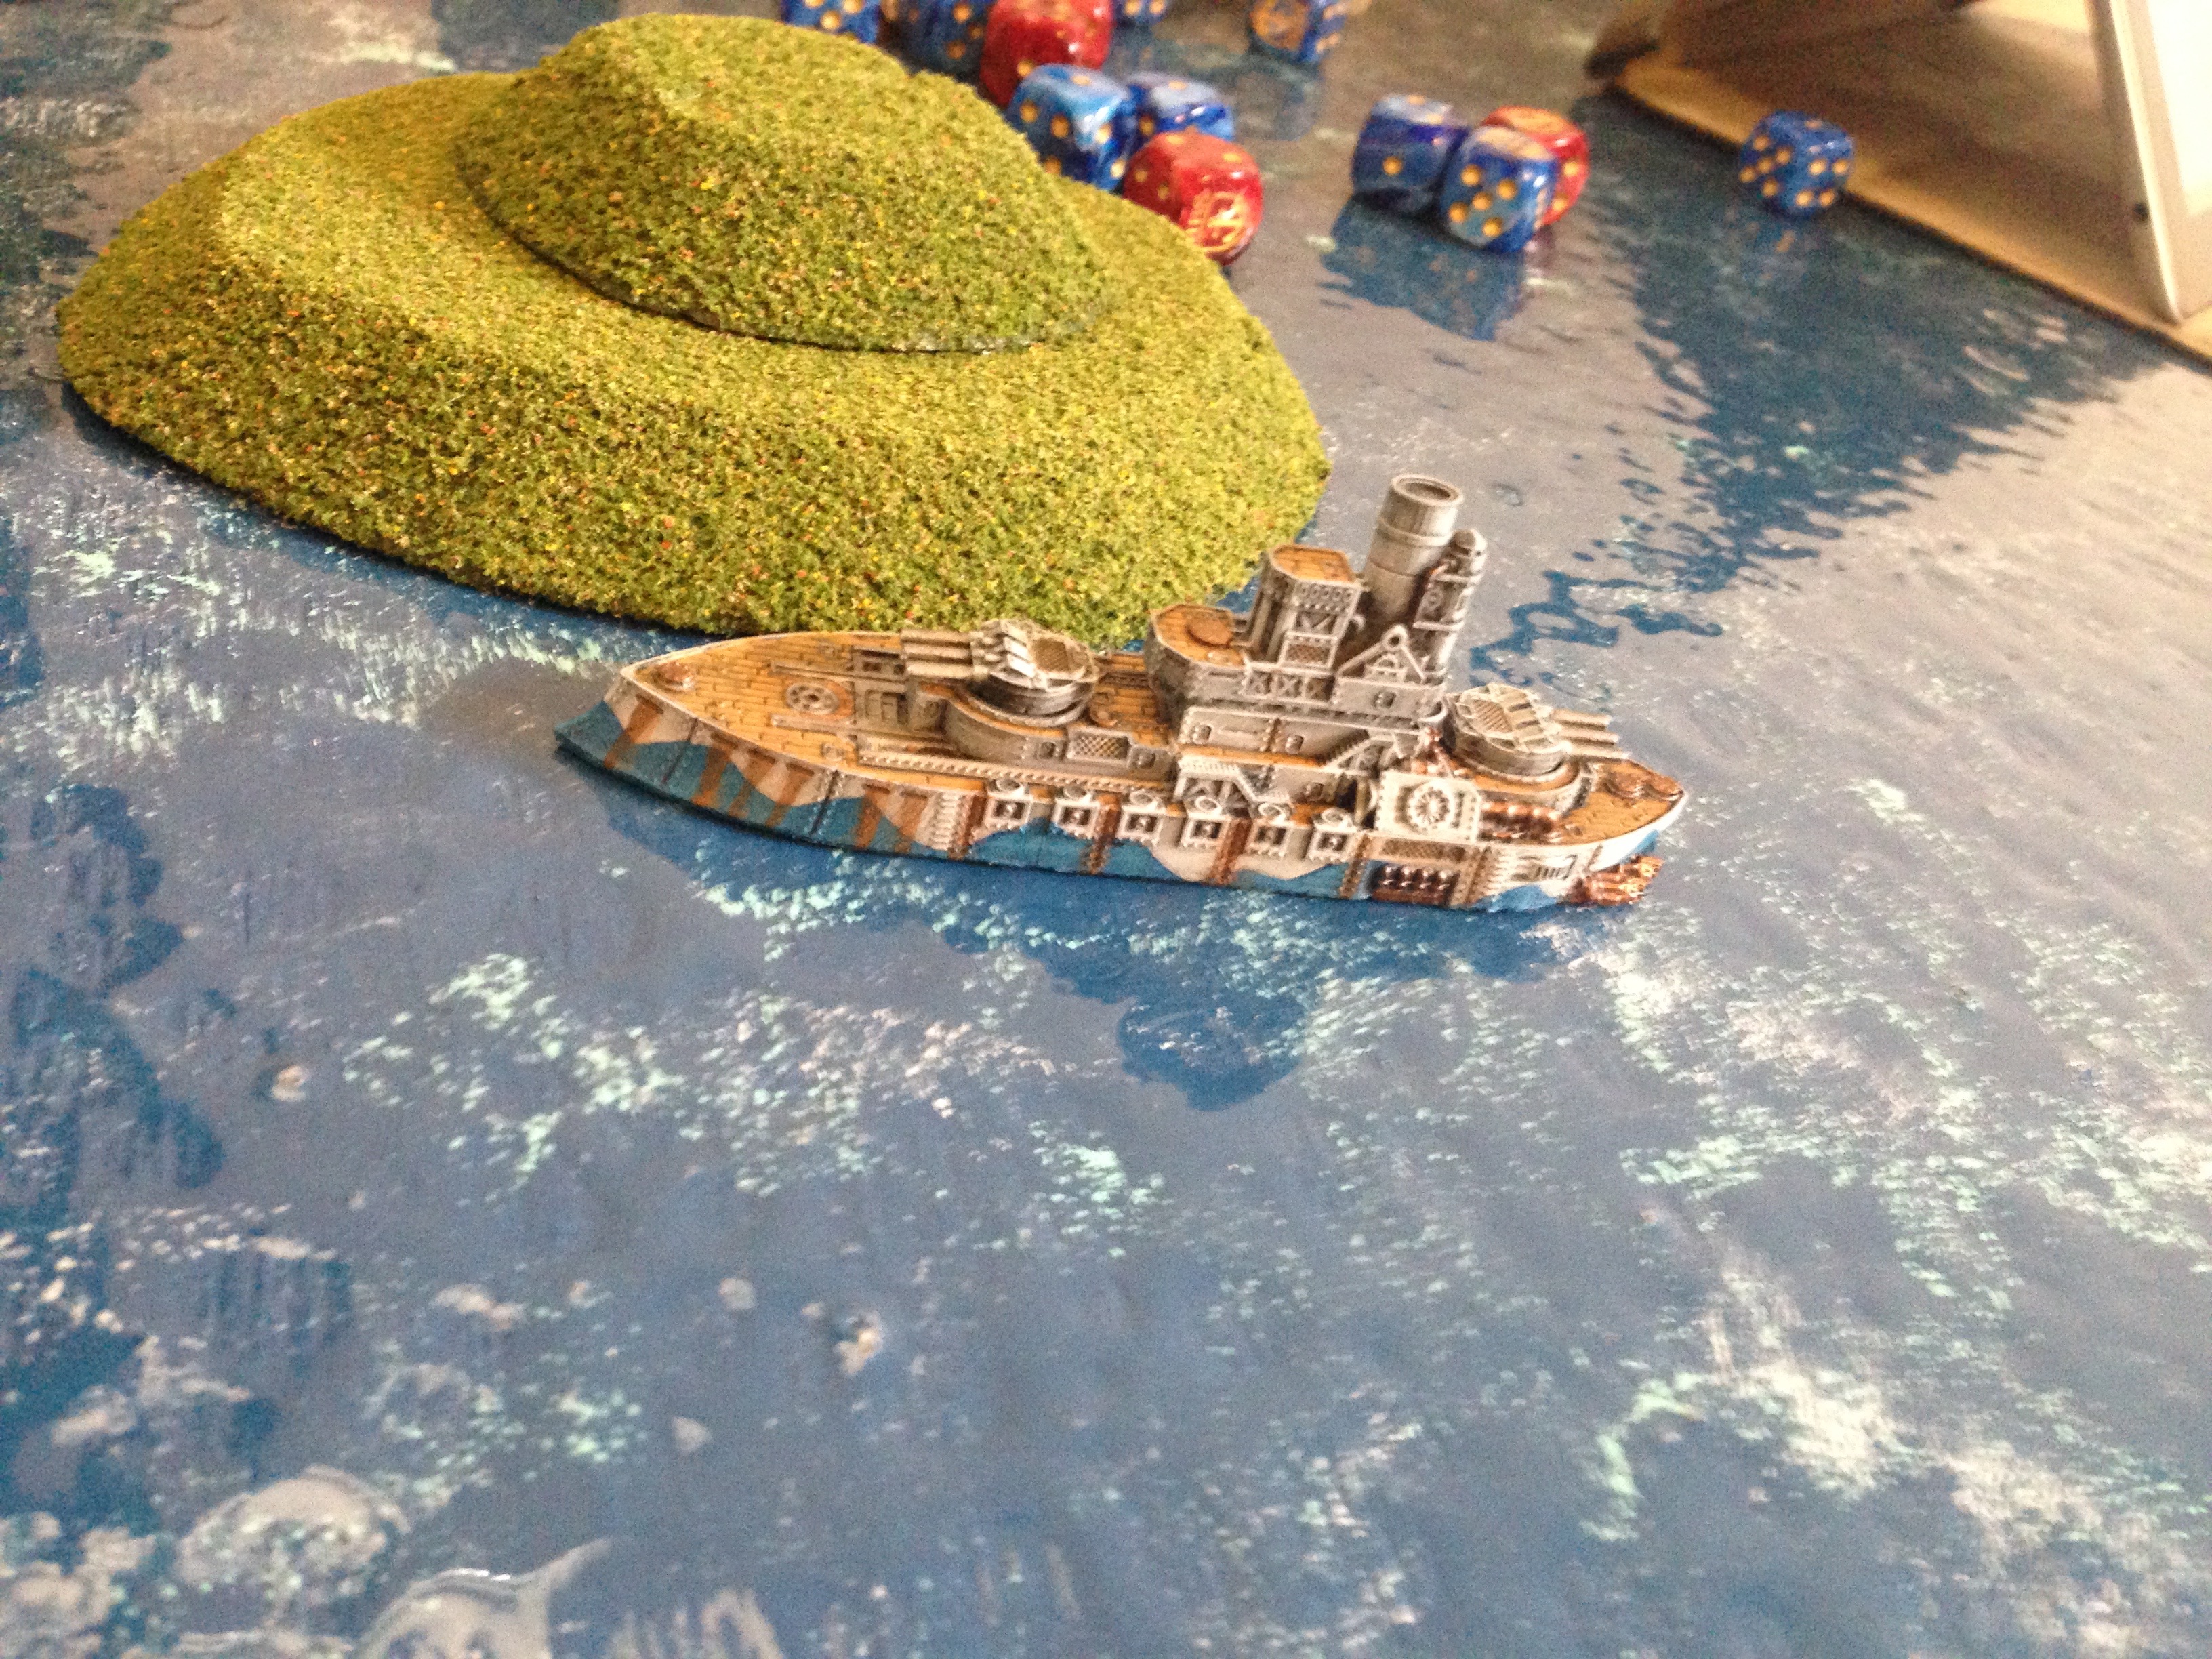
Here are some shots of the table and the two forces arrayed before deployment:


All SAWs went down as Dive bombers (with no aces) by player discretion. Deployment ended up as follows:

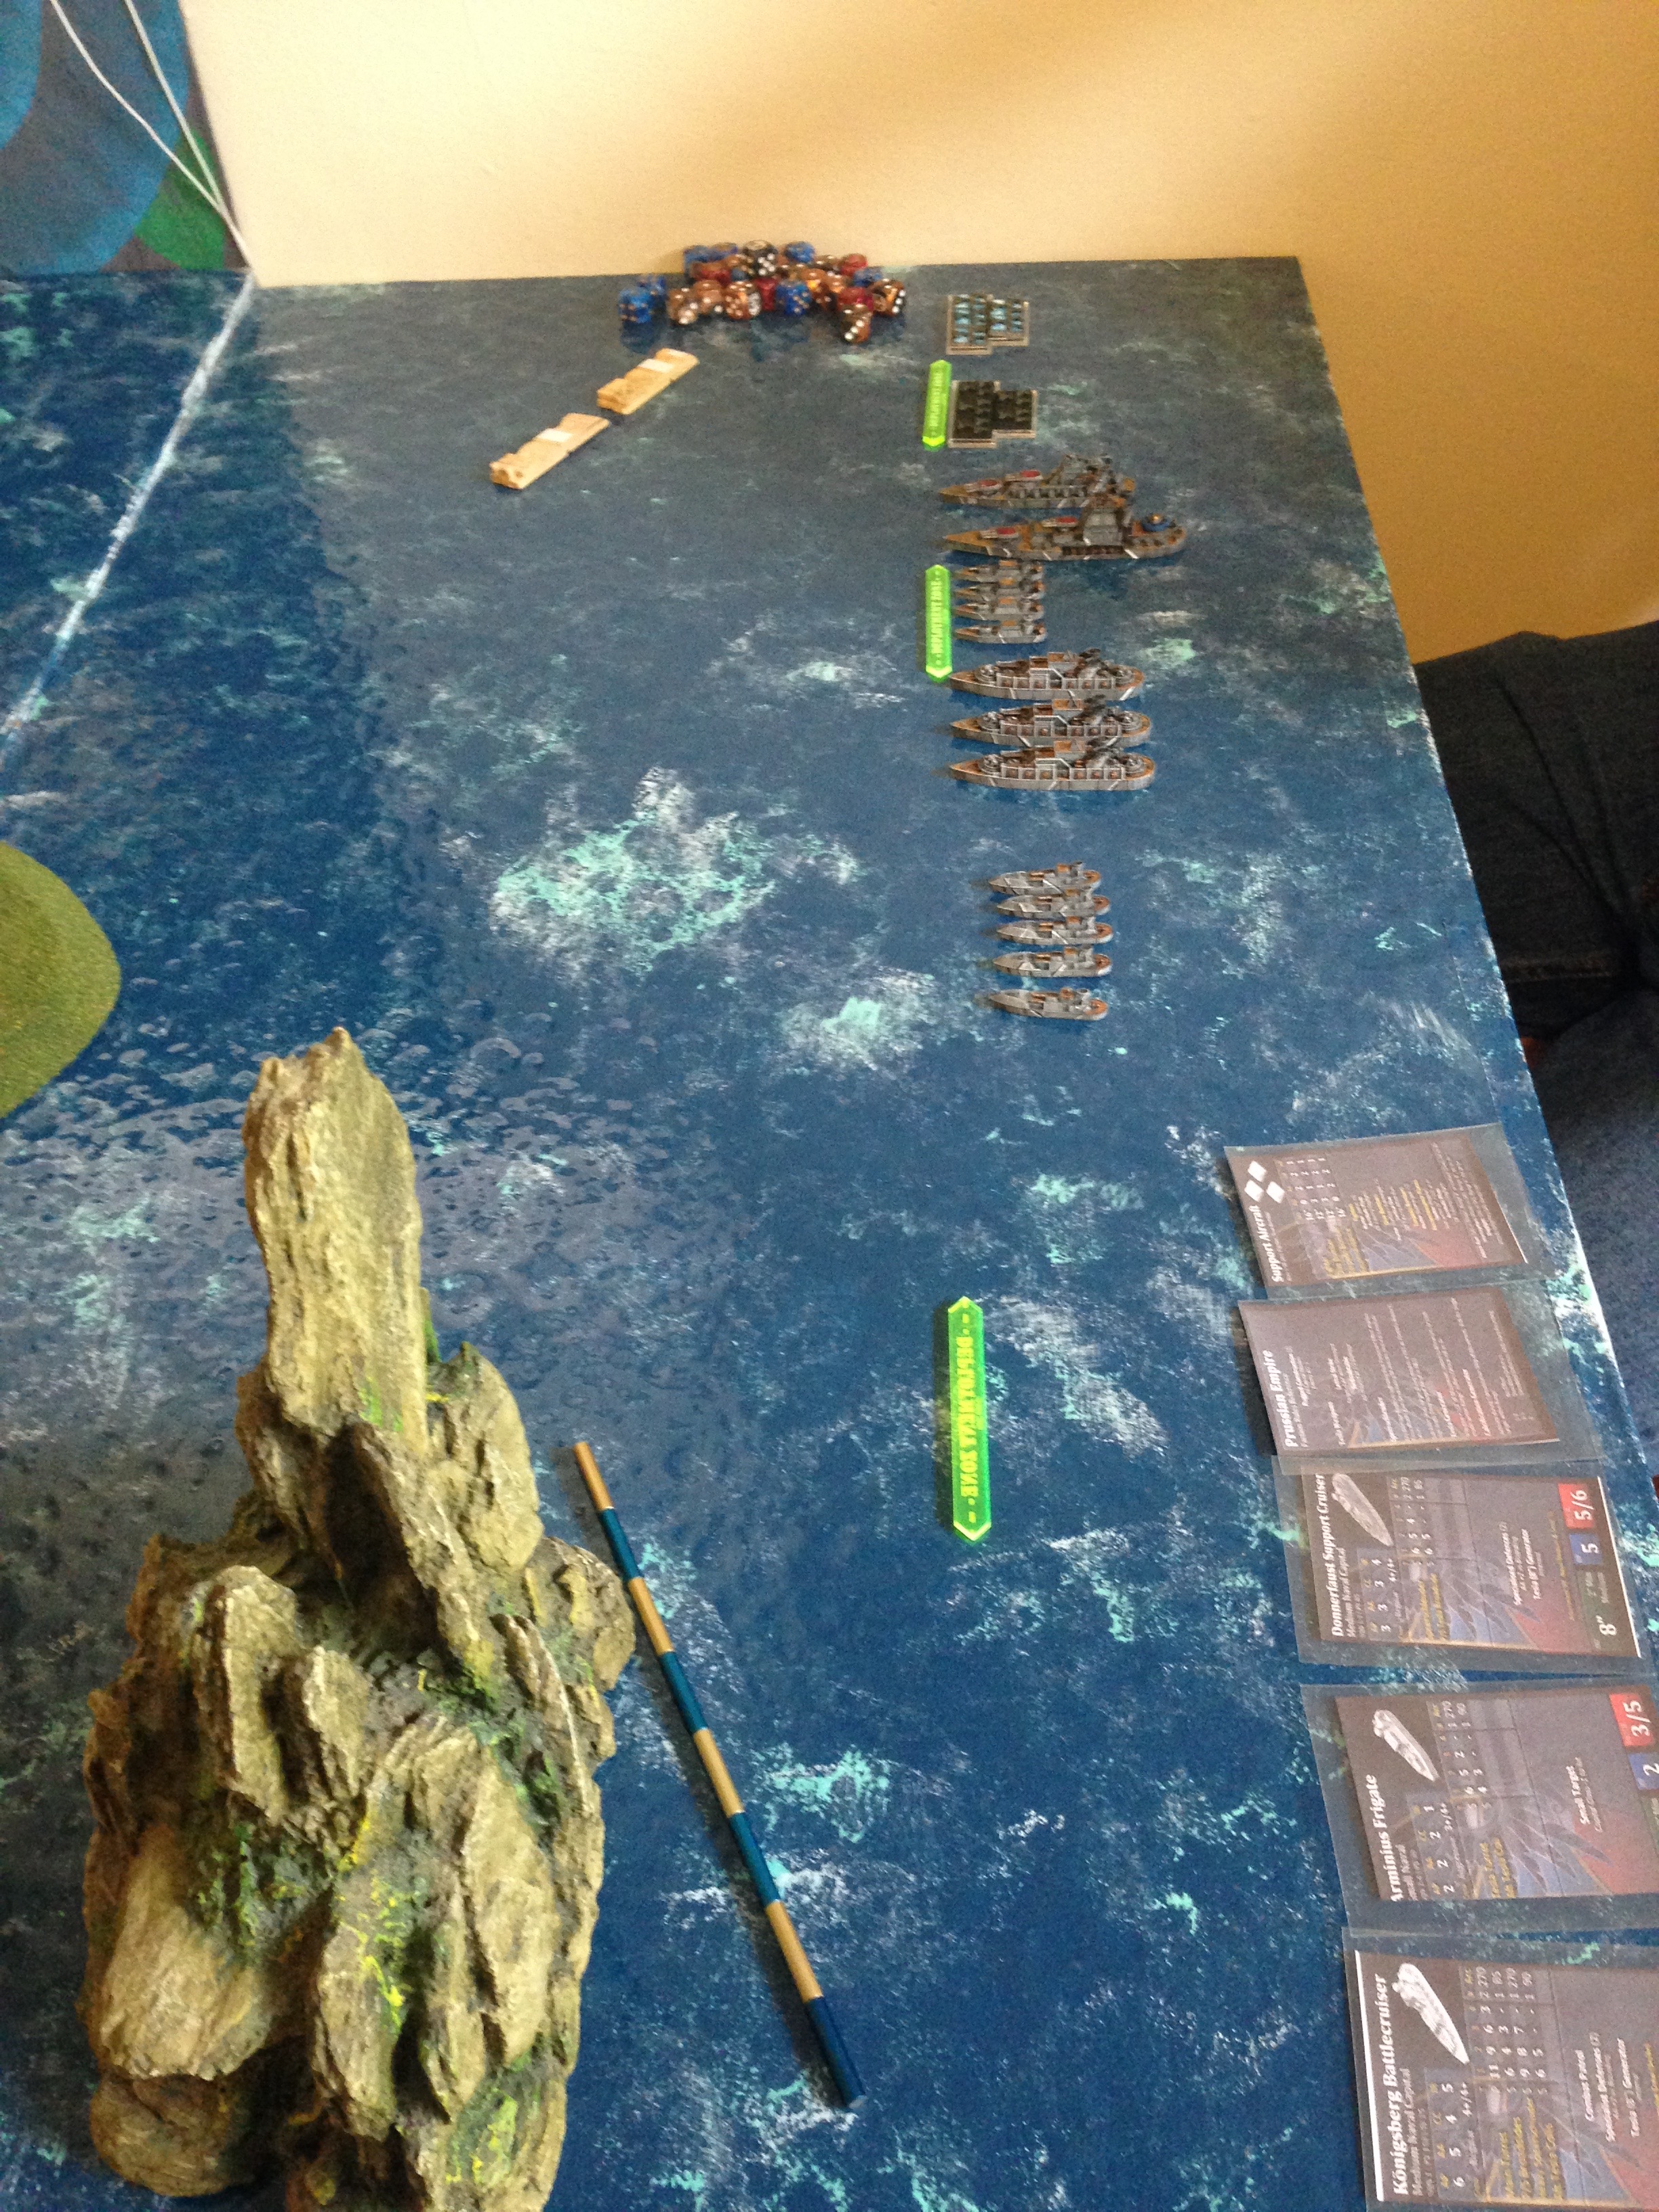
Responding to each other’s placements, both commanders concentrated their forces on the northern half of the table. It was sure to be a bloody battle…
First Turn
The Russian Coalition won initiative, and began by dive bombing the central fortress. Prussian corvettes immediately pulled up alongside and unleashed search and rescue teams into the damaged structure.

The battle lines moved directly at one another. The Prussian Emperor-class, sailing past derelict tankers, fired a fierce salvo at the Russian cruiser squadron, but failed to crack that heavy ablative armor.


That would soon change, however. As medium squadrons on both sides activated and unleashed their might, the fight quickly became marked by fire, smoke, and blood.


Second Turn 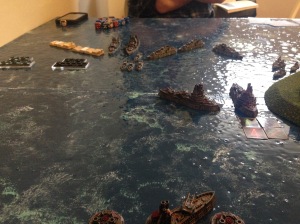
Passing disorder checks left and right, the two fleets continued to close on each other. Lethal electrical broadsides from the Donnerfaust support cruisers wracked the Russian Tambovs, although not before they savaged the Königsburg battlecruiser. Frigates clashed in a brutal tug-of-war of boarding actions as they duked it out between and amidst the burning wreckage of the White Navy’s mediums.


Vessel after vessel was left derelict, while others began to drift beneath the blue waves of the Pacific. Meanwhile, the mighty Borodino drifted slowly towards the action, slowly but surely destroying the fortress on its way. It even had the benefit of Sturginium Overload for two turns in a row!

This is where the game stood at the end of Turn 2:

By this point, with only the Emperor-class battleship on the Prussian side left to activate, both the Imperial Bond and the Grand Coalition admirals had successfully completed both of their objectives – and the third force had not even been revealed! It was also growing late, and all three of us were pretty exhausted. We decided to call the game at the end of Turn 2.

Reflection
As we packed up the fleets and terrain, the two admirals and the gamesmaster discussed the scenario. As it had been played, all objectives were completed by the Bond and Coalition forces, but they were wounded and bleeding. Essentially the game would devolve into a slugging match between the two battleships – both completely unscarred at the beginning of Turn 3 – and a race to see who could re-arm and re-use their dive bombers the fastest would ensue. By the time the third force entered, it would have been almost equal in points to the remaining Russian and Prussian forces combined. Despite that, both battleships being at full strength would make the mercenaries and Covenanters hard pressed to destroy both and escape off-board. Even so, it was certainly possible that all three sides would have completed all their objectives before Turn 4.
In hindsight, I think the following changes to the scenario would be warranted:
• The third force enters the board on Turn 2
• The third force reduced to 300-350 points, or the two main fleets increased to 900-1000 points each
• The fortress both harder to board and harder to destroy
• No tiny fliers, or only fighter squadrons allowed
• Consider deployment requirements (e.g., deployment must commence in size order, from large to small)
• Spell out additional, post-objectives victory conditions (probably by victory points)
I did love the secret mission briefings, though. They were a simple but fun alteration to the game.

Great write-up! I really enjoyed the game, thanks for having me over. I think a 300 point intervention force would be fine. Definitely agree with the deployment requirements….that’s actually in the rule book, and I had forgotten about those rules. I would love to try a similar scenario again sometime!
Interesting read, thank you. I’m considering getting into the game after playing it at a con very recently.