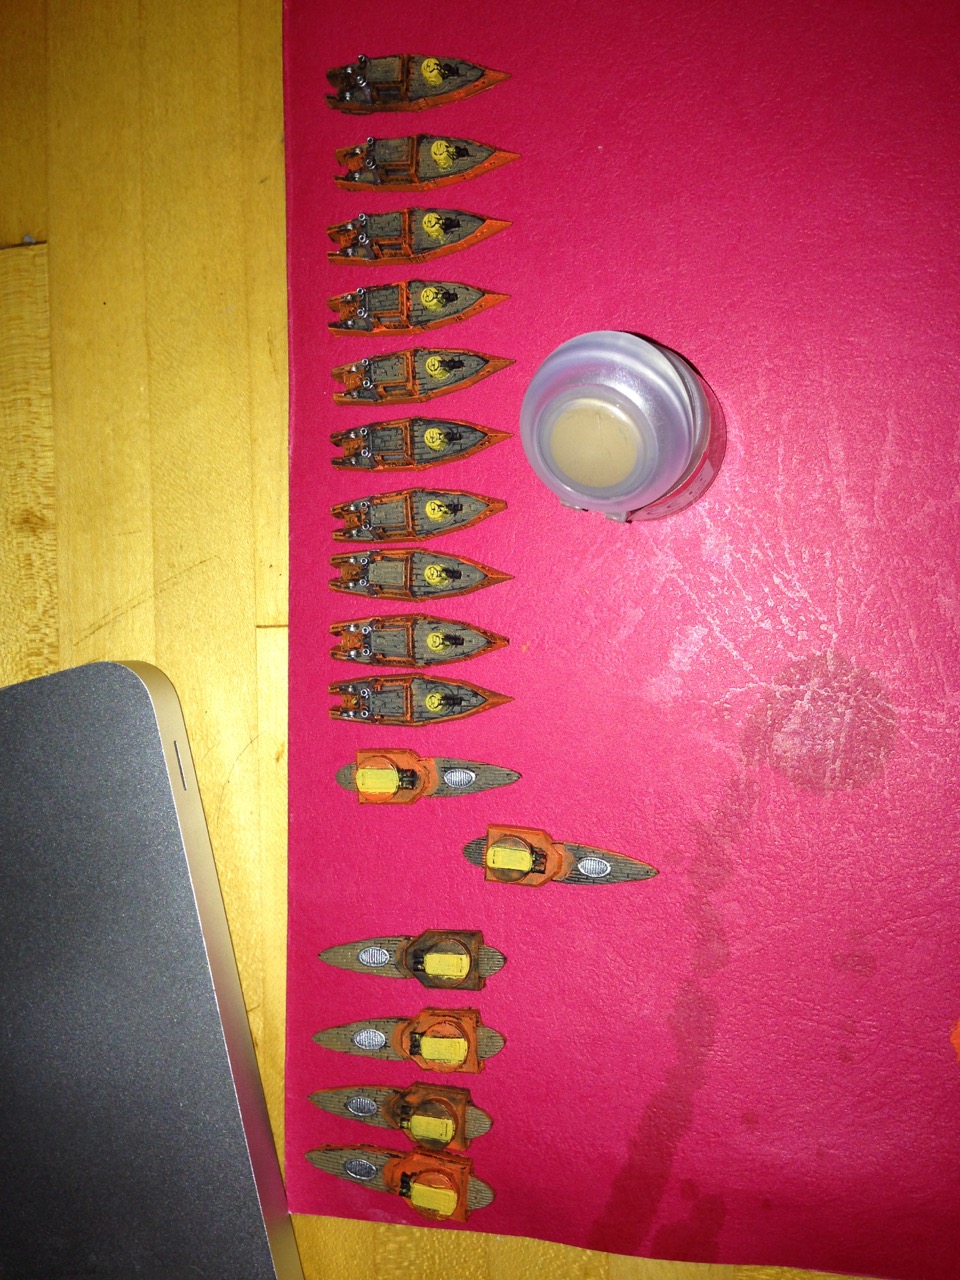
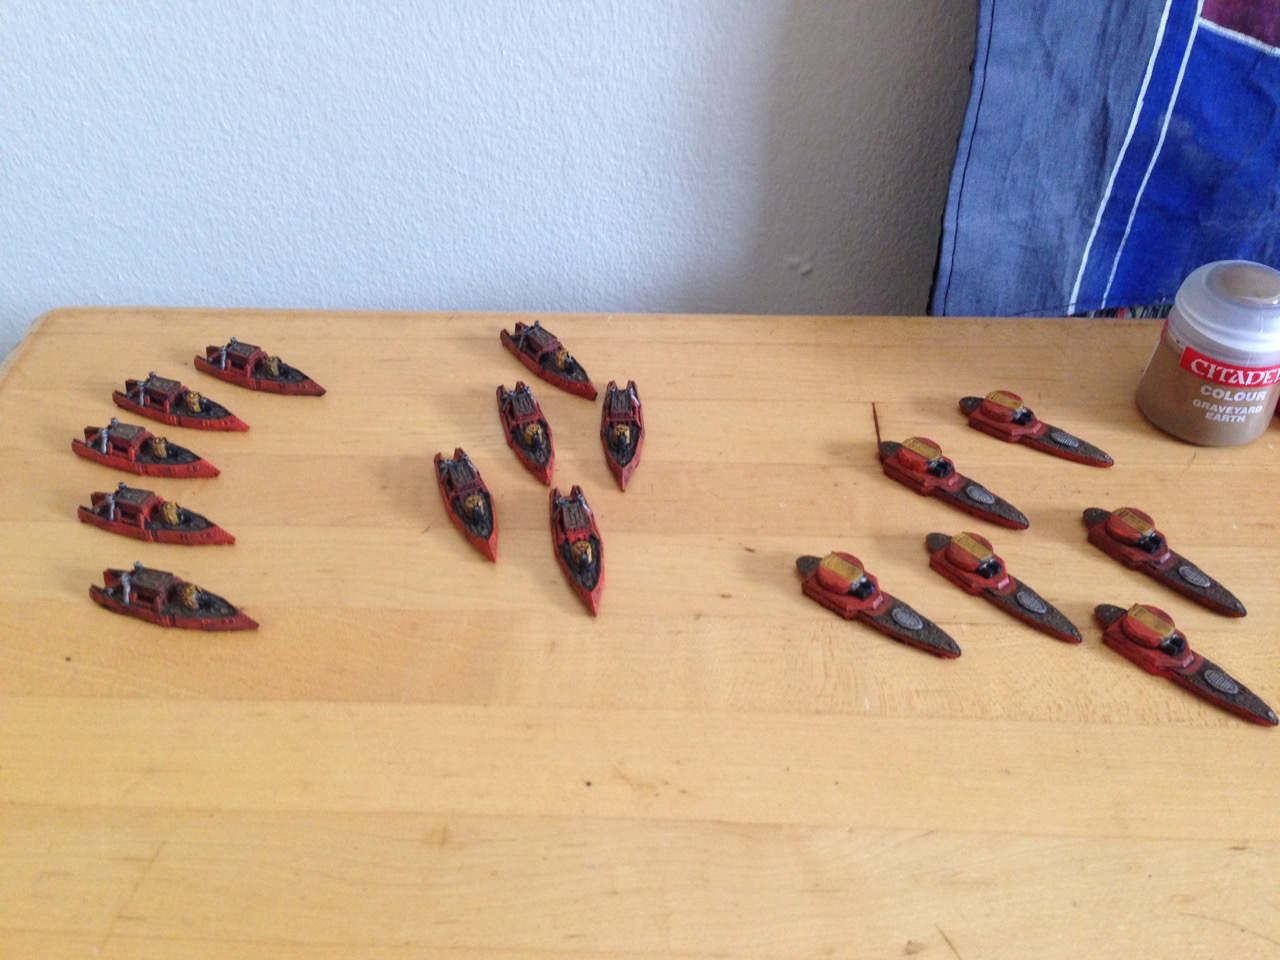
Last week I finally got in a solid playtest game for the Canons de Zibeline (Jack-O-Lantern Company) Mercenary Company. To find this homebrew faction’s current force guide and rules, please scroll down to the NEXT post on this blog.
My good friend Seb was generous enough to sport the opposing side, using 1000 points of my Russian Coalition naval ships. I commanded a flotilla of 1000 points of mercenaries, using the most up-to-date rules (again, see below for these). We played a straight battle, with the prime objective being to see how the updated Mercs did against an official fleet. Terrain was sparing.
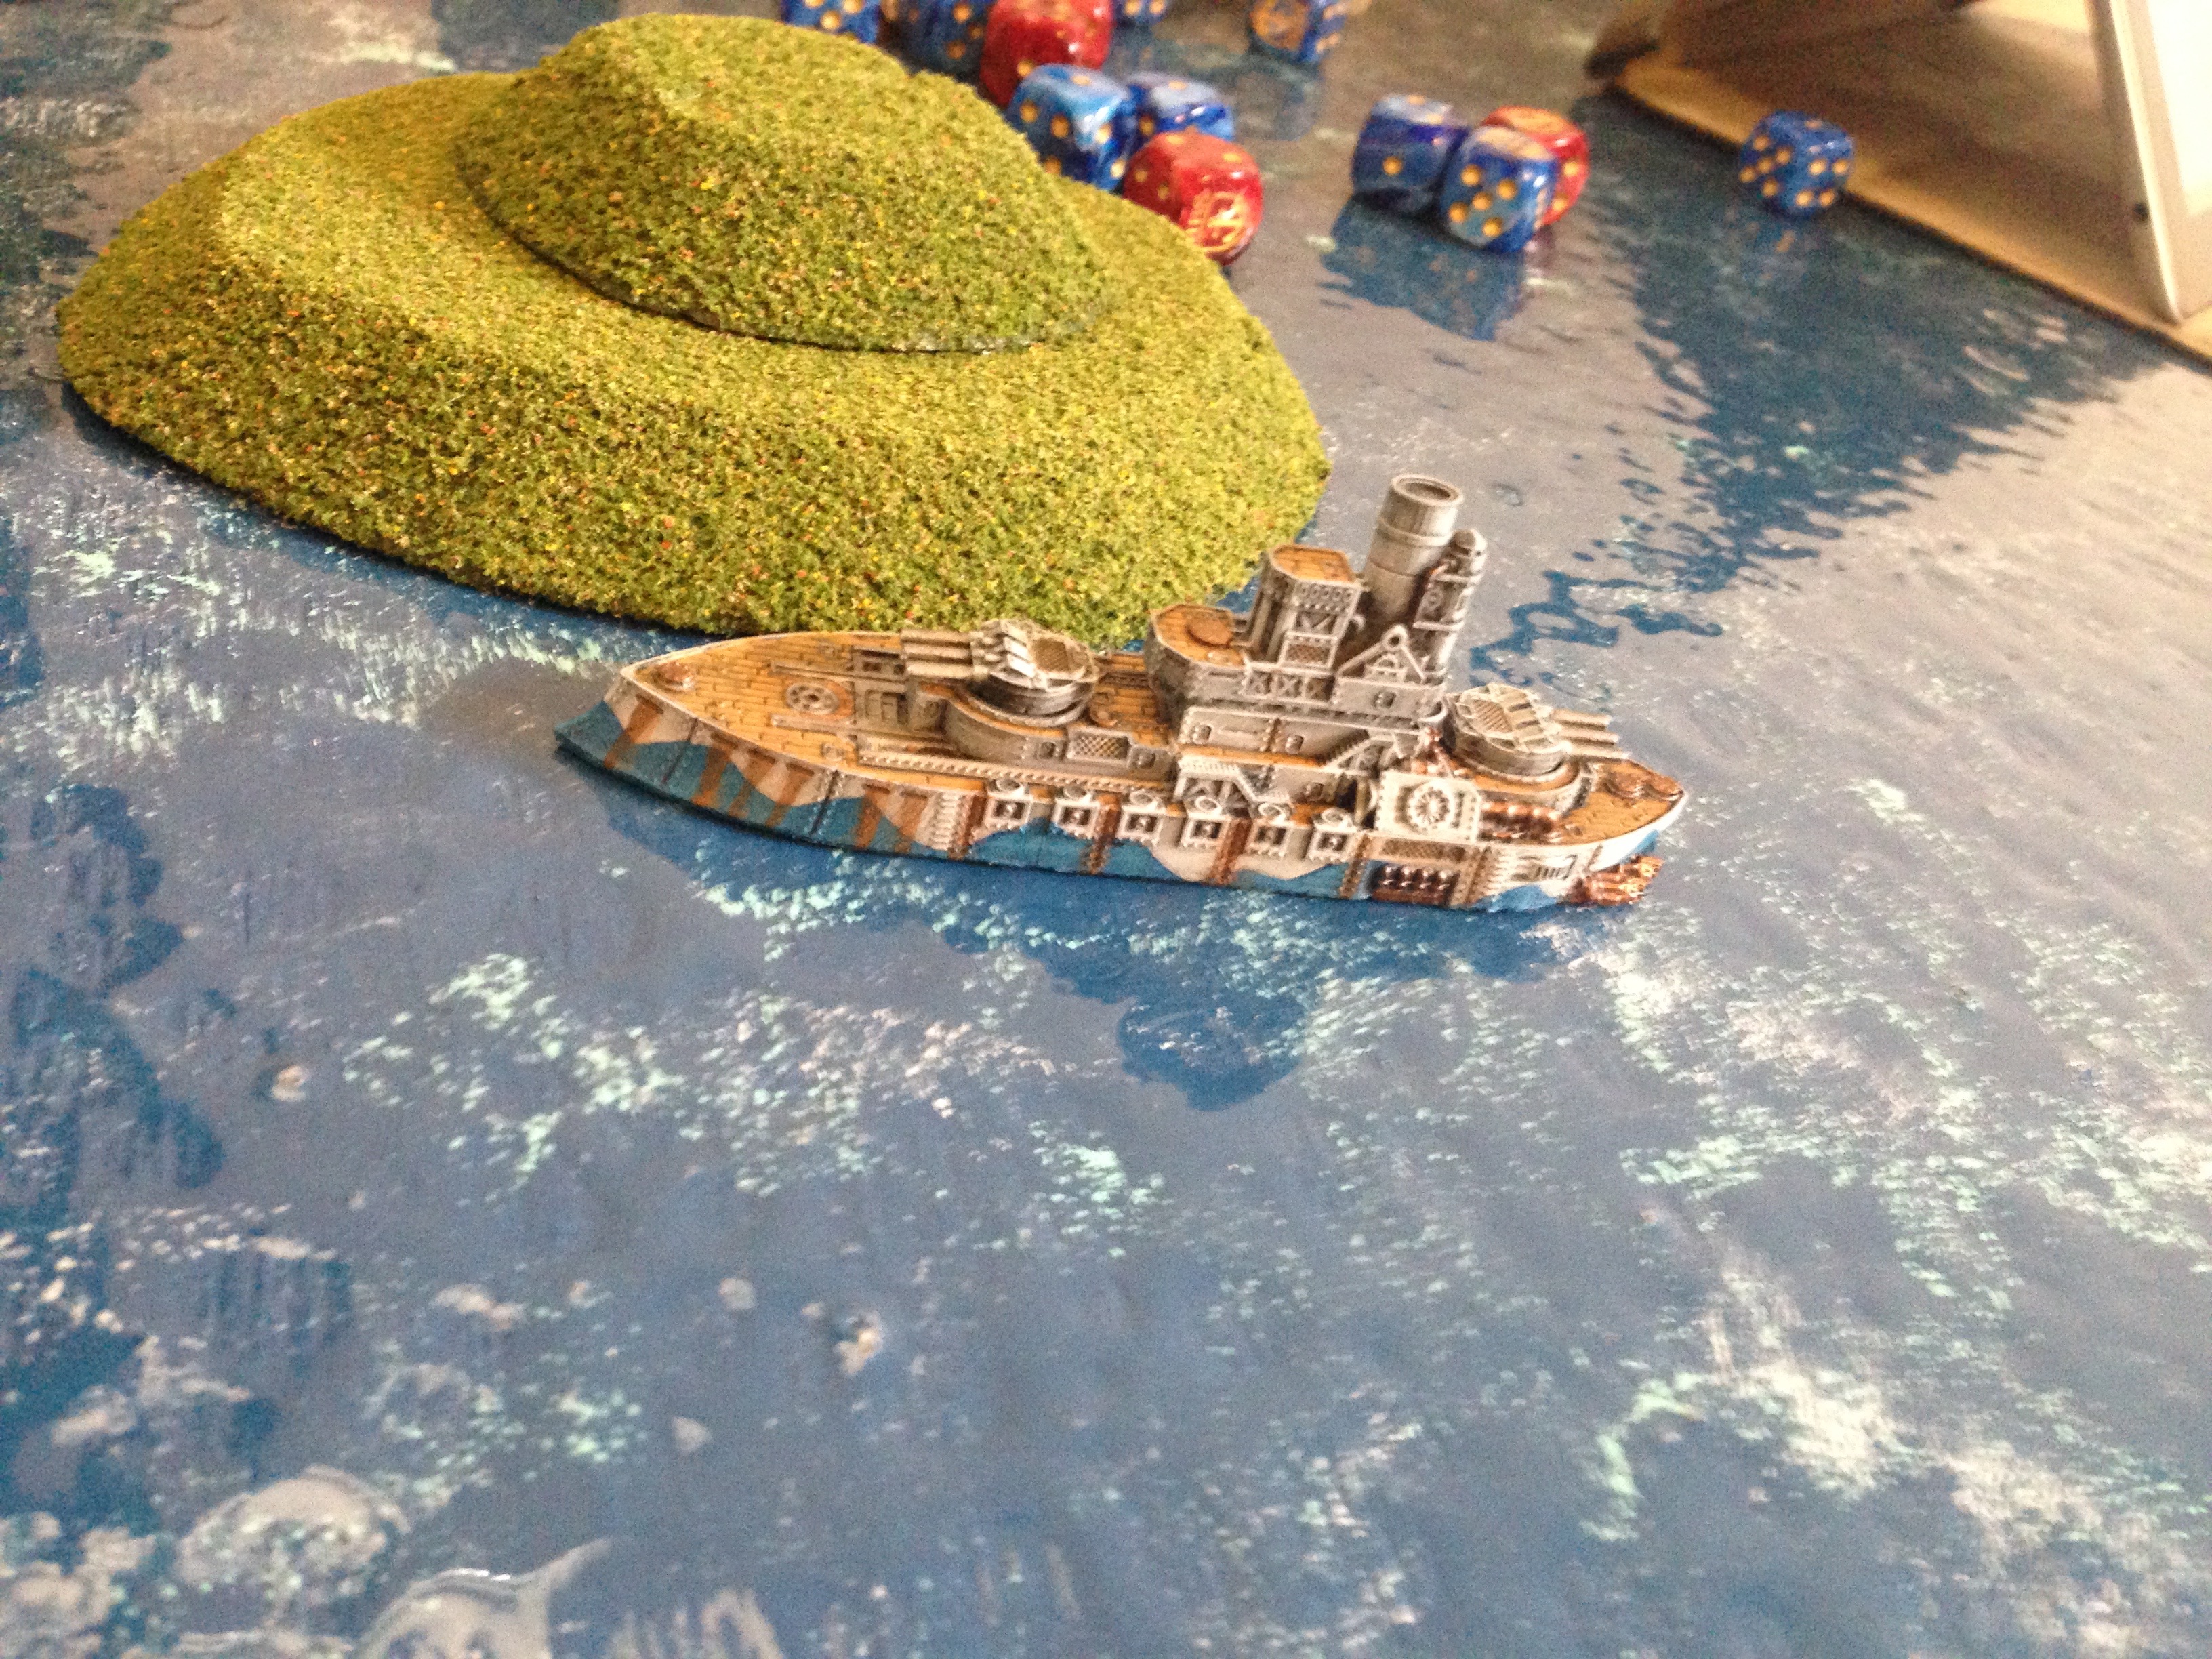
This is less of a battle report and more of a photo gallery. I’ve included some notes about the force’s performance at the end of the post. Sorry upfront about the glare on the ocean board – these photos were just quick in-the-thick-of-rolling-dice shots.
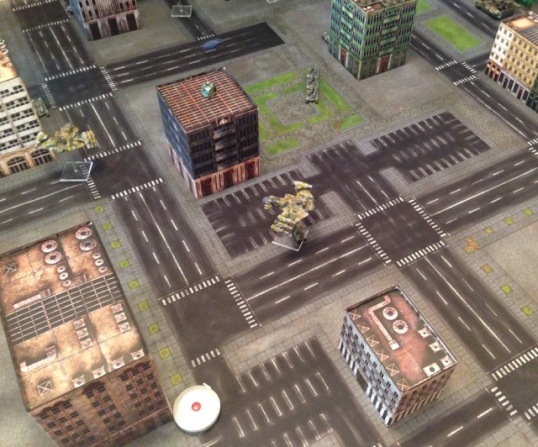
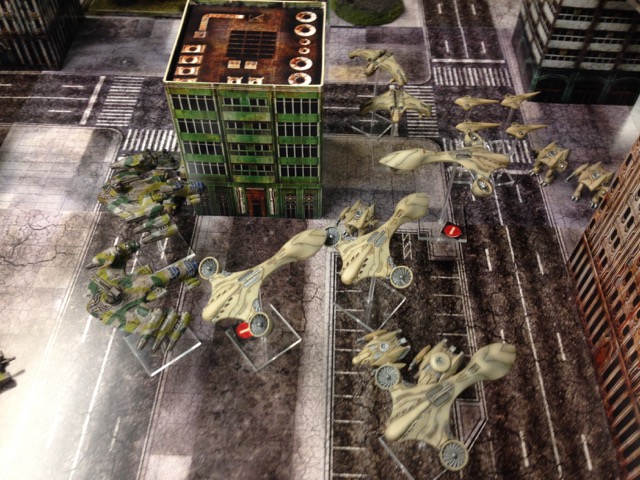
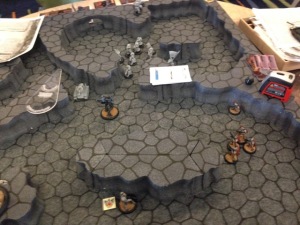
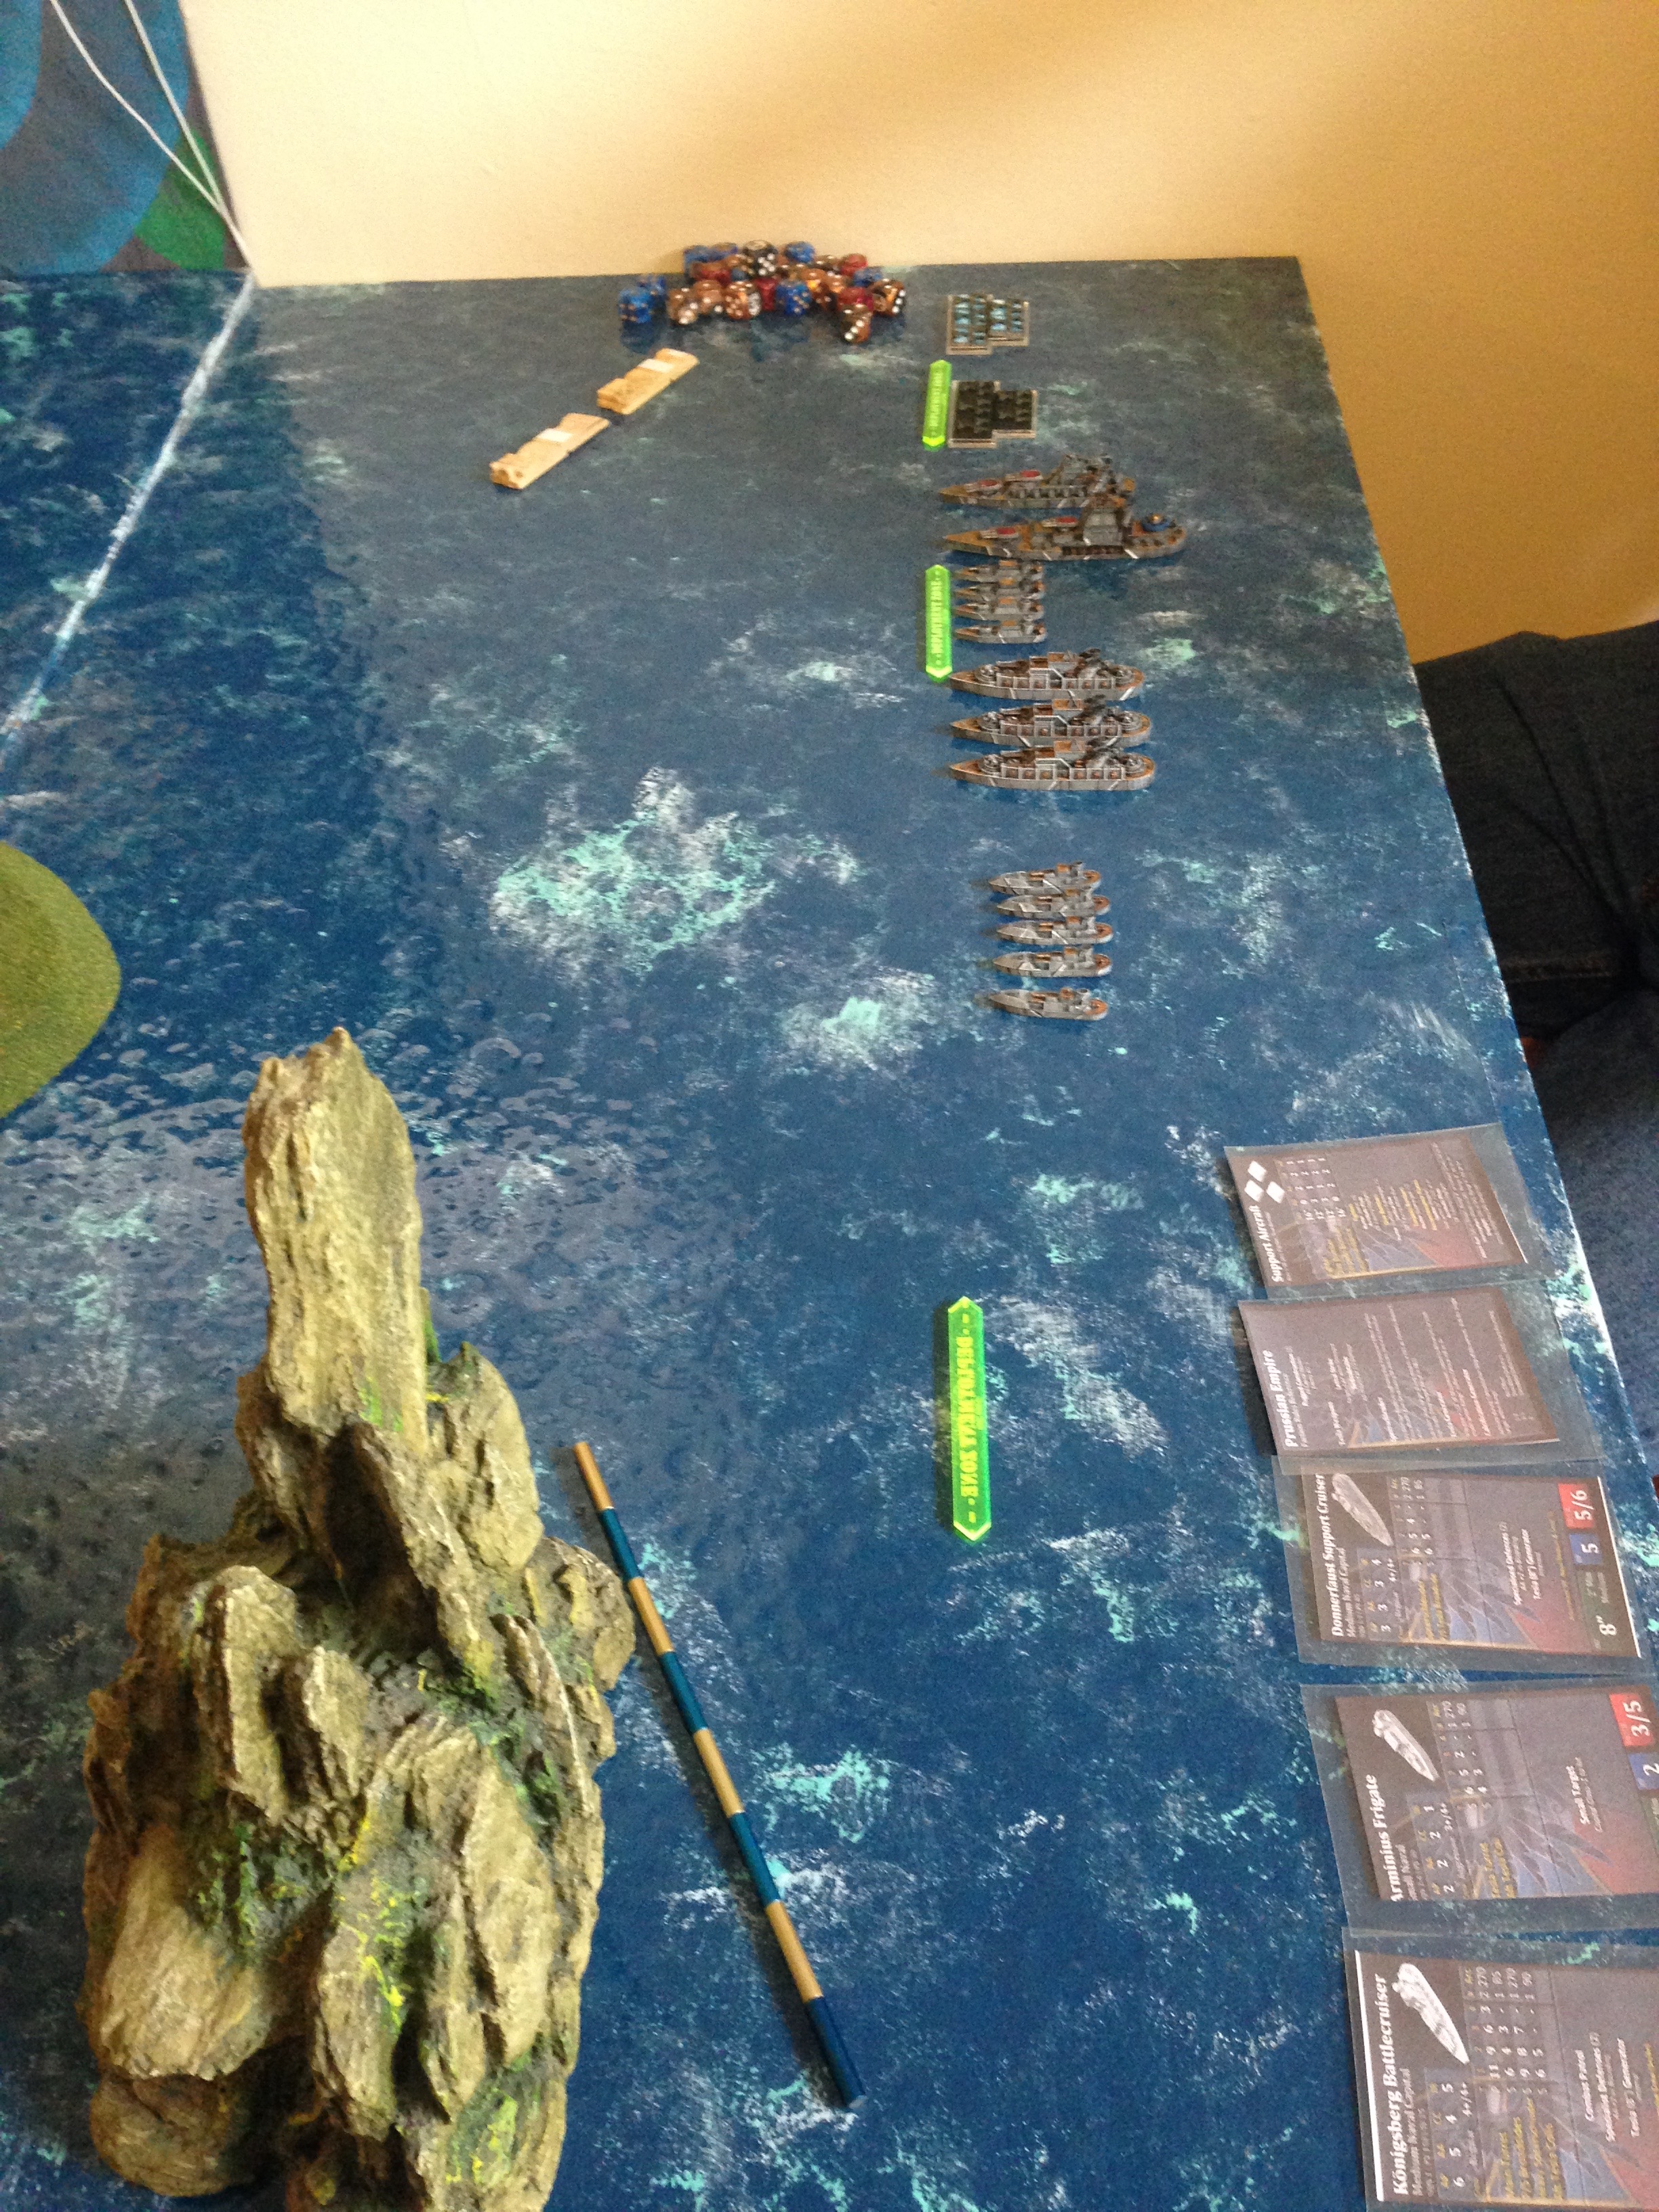
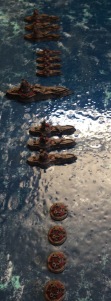
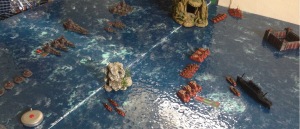
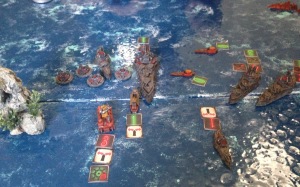
Deployment

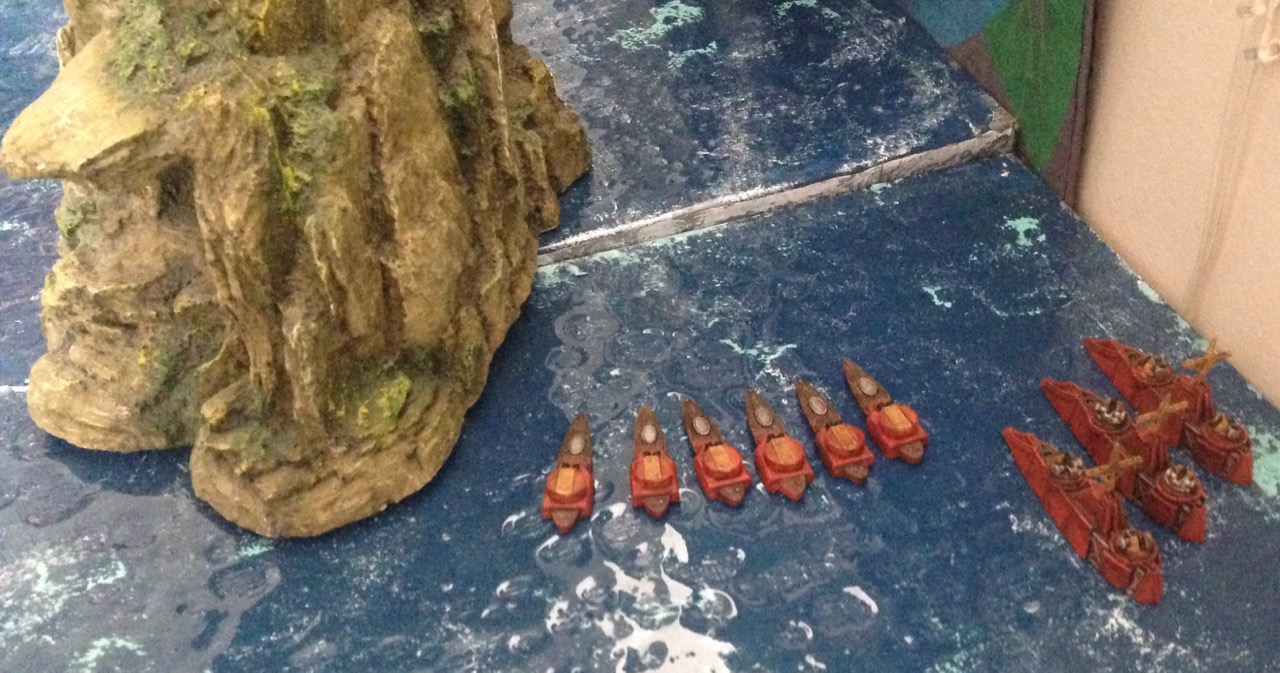
Turn 1

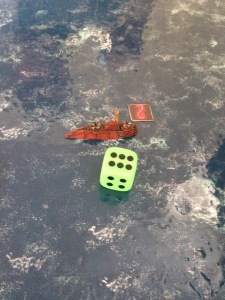
We used this fake die as the turn counter.


Turn one primarily saw maneuvering across the board, but there were some casualties. Here is an early look at the “scrapyard:”


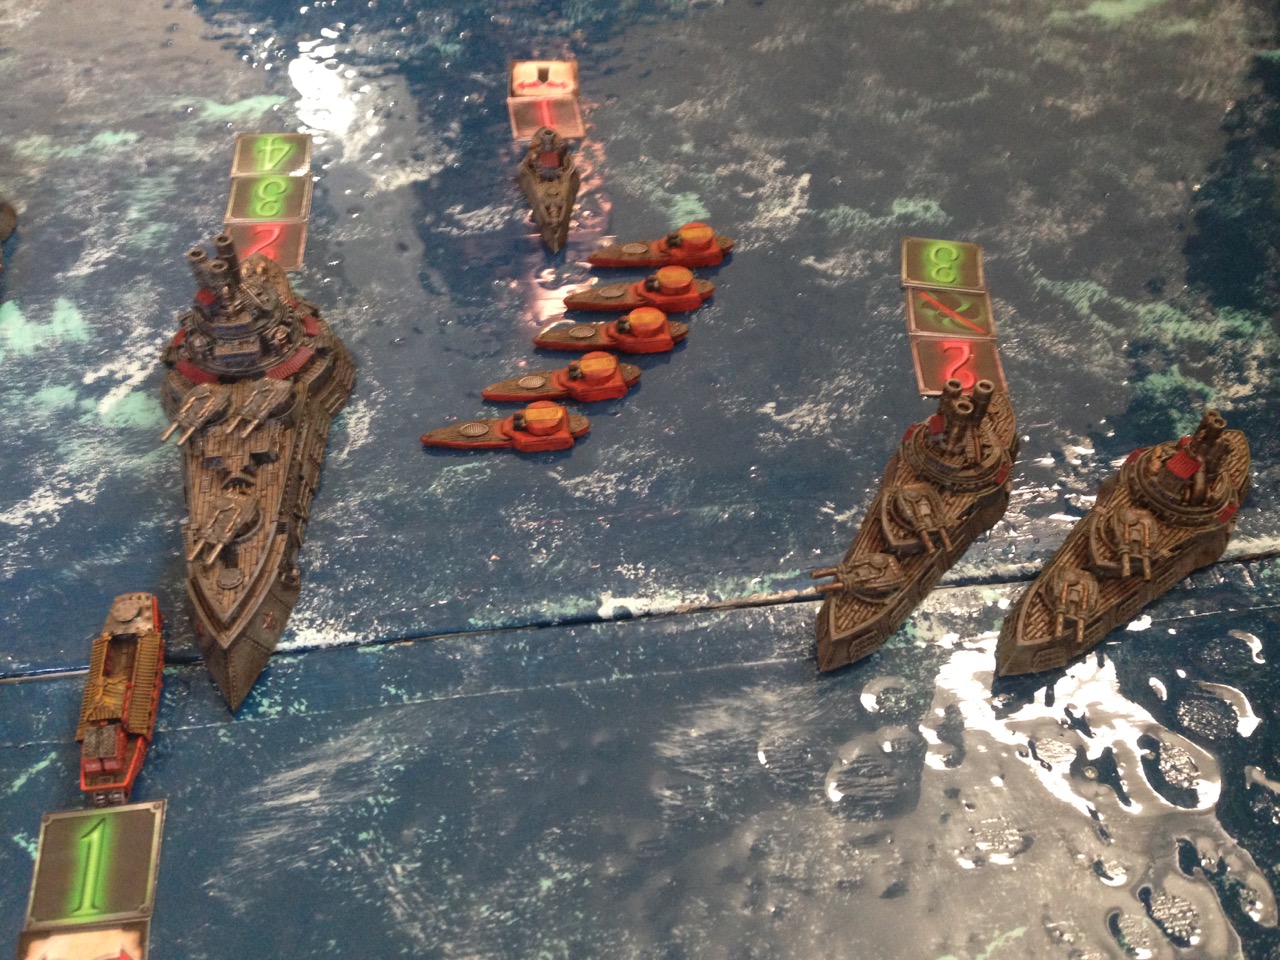
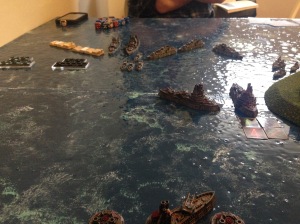
Turn 2

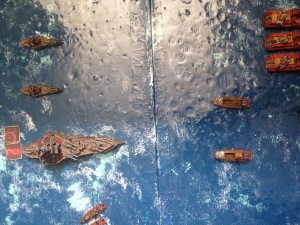
Watch out for that tectonic plate action in the middle of the ocean!

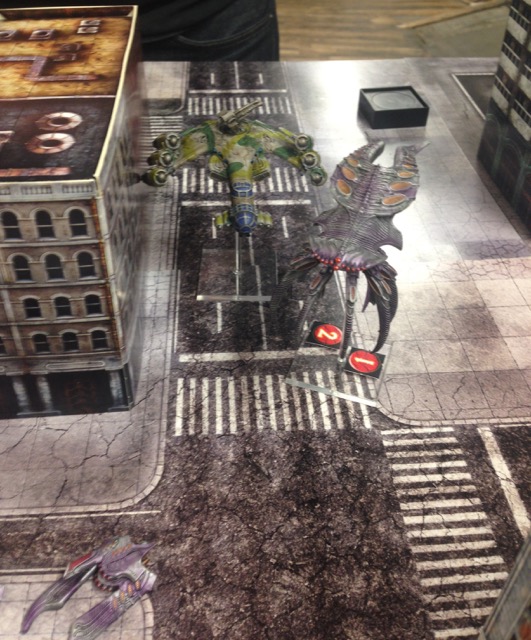
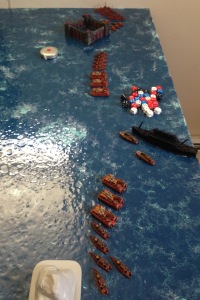
This game ended up with a truly surprising number of ramming actions. By the middle of turn 2, the center of the board was full of models from both sides. The undeniable King of the Ram in this game was the Suvorov cruiser. 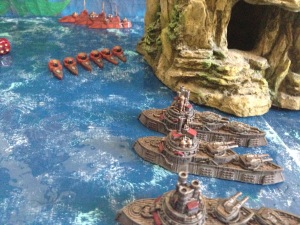

Here’s a truly amazing roll I had. I believe this was from the corvettes firing on the RC gunships – and they scored a good number of hits! I like to memorialize the little victories I get.

 Turn 3


The entire battle might have hinged on this single boarding action, between the two flagships. The CdZ Leviathan failed to even damage the indefatigable Borodino, and was subsequently destroyed. 


 Turn 4


Not much action for the few remaining CdZ forces on the table this turn…
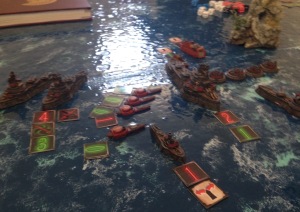
Turn 5


“Give ’em both barrels, Johnny.”
 Turn 6
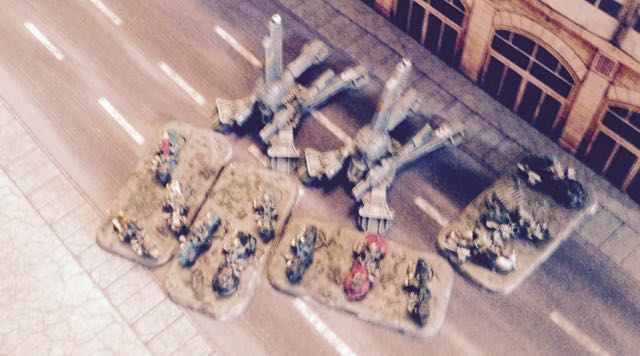
 The lone survivor! These poor souls made it all the way to Turn 6, and even won the activation to go first.

Alas, they did not survive the battle.
After Action
Here is the scrapyard at the end of the battle: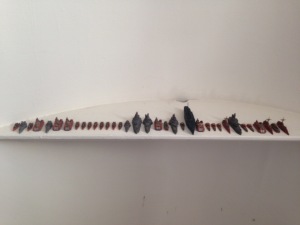

It was a bloody match! There were lots of disorder checks throughout the entire game.
Overall, I was very satisfied with the performance of the CdZ in this game. Although by the final turn the Russian victory was fairly lopsided, I think the mercs really held their own, especially in the beginning of the game. Up until the failed flagship boarding action I think the game could have gone either way. Some poor dice rolls and a few tactical errors on my end and the Russians won a resounding victory.
There were three major errors that I made in the mid and late game that had a major impact on the CdZ defeat.
-First, I forgot to use the Commodore’s ability to give all vessels the “Long Range Assault” MAR for a turn – and had I used it that turn, things might have gone very differently…Without it, several of my squadrons were just out of range of boarding. Oops.
-Second, in the mid game I went right with a squadron of pocket cruisers when I should have gone left, and I targeted the enemy battleship when I should have shot up the nearby frigate squadron. This was just tactical myopia on my part; after this particular activation, the Borodino was unscathed and the pocket cruisers in a poor position for the following turn. Oops…
-Third, flush with confidence after the corvettes rolled so incredibly against the gunship squadron, I ran them directly towards the Borodino and shot, boarded, and rammed over 2 turns with everything they had. The result: all the corvettes were destroyed, and I don’t think the Borodino was even hit critically. Instead, I should have kept my corvettes moving in the backfield, where their speed and 360° firing arc would make them real pests for the Russian Coalition mediums. Oops!
Without these three mistakes, I think the end result would have been much closer (but maybe still a Russian win). Seb, of course, did a solid job plowing into my forces and unleashing all those range band 1 and 2 guns the RC boast. Still, lessons learned for the next battle!
Notes on the CdZ Rules Update
After this game I actually feel really pleased with the condition of the Jack-O-Lantern Company. I really like that as a force some of their primary advantages are large squadron sizes (frigates are 2-5 and corvettes 3-6!) and more activations than your opponent. To me, that fits with the mercenary/pirate operation – small ships, swarm tactics, boarding, no generators. I really liked how the combat escorts functioned – as the guns of the flagship, essentially – and the pocket cruisers took more than their share of damage throughout the game. I also loved lining up the super destroyers in a line astern formation to shell out hefty, hefty pain (at least, that is, until they got beaten up by many, many Russian naval rifles).
That said, there are some things I think that could be changed after this playtest to make the rules even stronger.
-First off, the Canons de Zibeline flagship – Le Leviathan – is a little too weak, especially as a boarding vessel and the only large of the fleet. I think it is both not durable enough and not strong enough at assaulting. The main changes I think I want to implement in order to remedy these shortcomings are adding the Experienced Engineers MAR and upgrading the crew type to Elite – it is the flagship of the entire flotilla, after all! I am also considering adding 1 to the IR, the Security Posts (1) MAR, and/or 1 point to the AP. With any of these changes – or all of them – I think it makes sense to bump the price up to 125 points for the ship.
-Another change I am considering is small but fluffy: reducing the cost of SAW Ace upgrades to 5 points (instead of 10). I think a merc outfit would garner the interest of a lot of professional pilots, yeah? This change may not even add up to anything, but would equally be unlikely to make the faction overpowered. However, I could see it giving the CdZ a slight advantage when using dive bombers against enemy capitals – which would probably be a welcome boost in a force lacking in significant firepower.
-I am also working on rules to represent scout blimps, to give the CdZ some basic aerial presence. But more on these another time!
I will also say that I think in the long run, Apollo class support carriers from Operational Assets will be a natural inclusion in the CdZ force, but I do not think I want to incorporate them directly into the force guide – I’d rather force the player to take them from the Operational Assets guide.
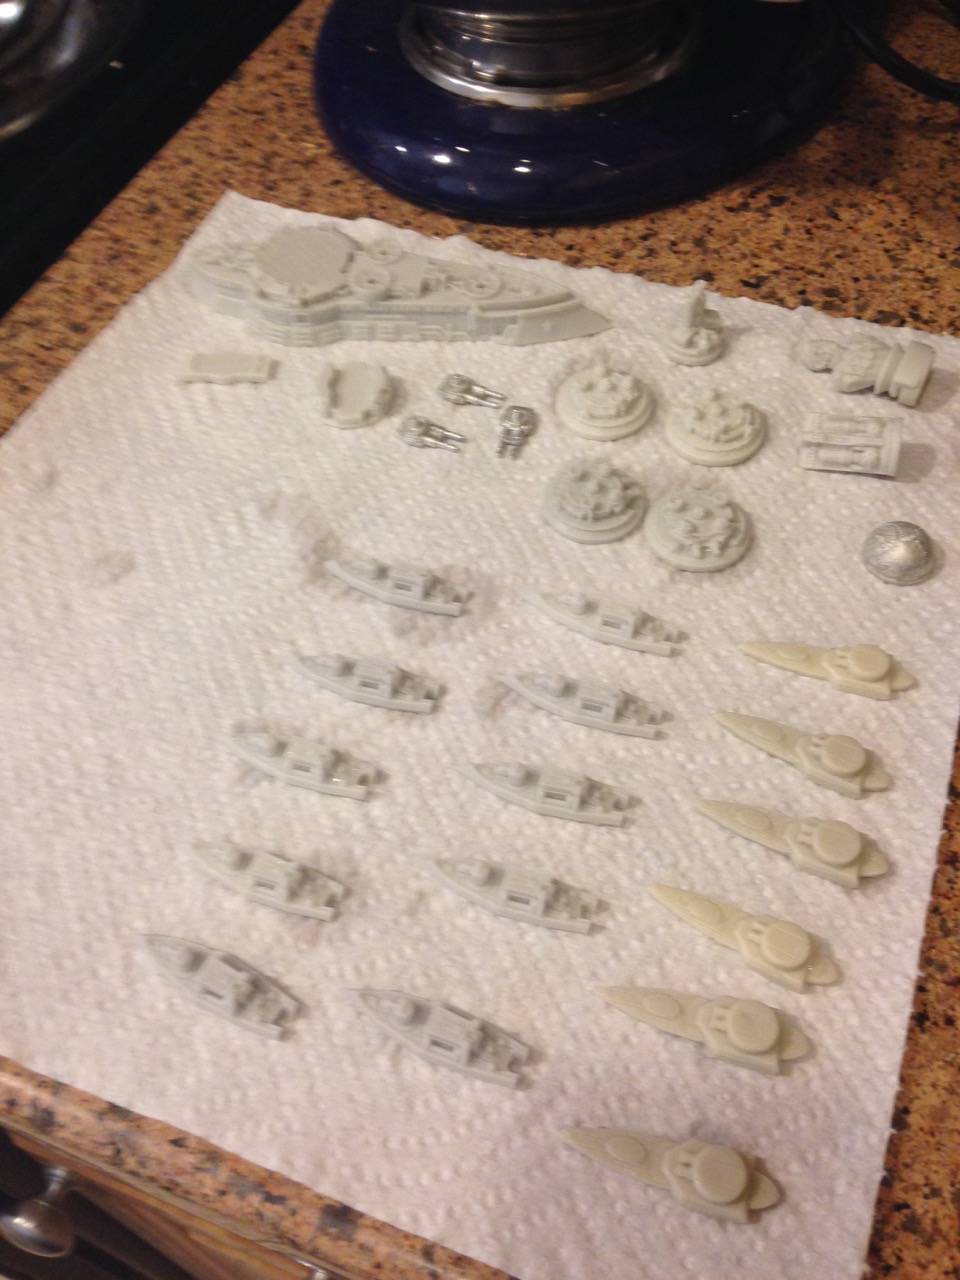
As always, I am interested in feedback and ideas for this force! I am very glad to have them mostly painted and ready to play on the table. Discussions about the force guide and fleet rules are ongoing on both ManBattleStations.com and the Spartan Games forum.
Thanks to Seb for the bloody nose he gave the CdZ, and for the time and thoughts on the rules so far!